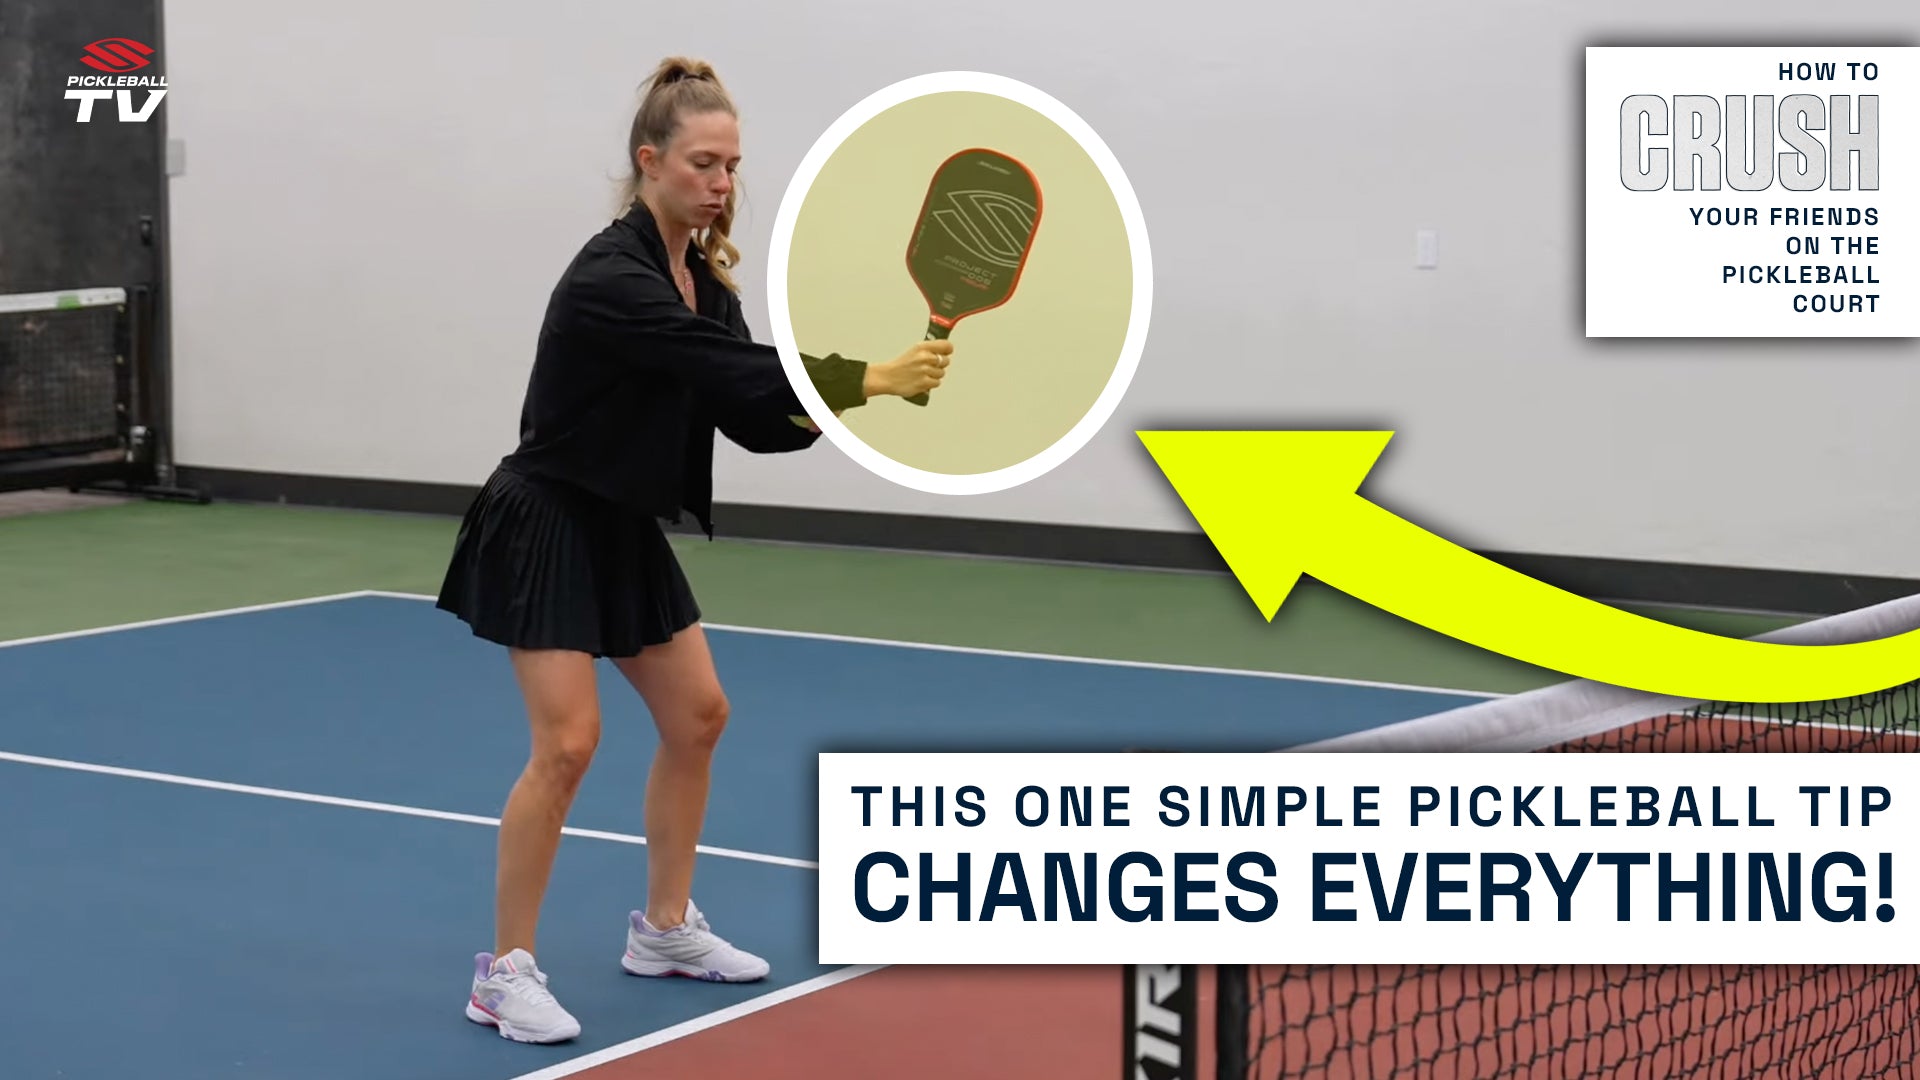
A fundamental in any sport is a proper ready stance. Think about a baseball player squatting low with their glove out in front of them as the pitcher prepares to throw the ball, or a football player squatting low at the line of scrimmage waiting for the snap.
The concept is no different in pickleball. You need to maintain a proper ready stance before receiving any ball so that you can execute your shots properly.
In the latest episode of her “How to Crush your Friends on the Pickleball Course” course on Selkirk TV, professional pickleball team owner Kaitlyn Kerr shares tips for an optimal pickleball ready position.
What is a proper ready stance in pickleball?
Although a ready stance can vary from player to player, the basic mechanics should be the same for everyone.
To get started, ensure that your knees are bent slightly — you should never be standing up straight on the pickleball court unless you’re jumping for a high volley or lob.
Now, hold your paddle out in front of your chest with your elbow bent slightly. If your paddle is down by your legs, you are easily attackable because you will have to bring the paddle up to chest height before hitting your next shot. With the paddle out in front of your body, you only need to move it left or right.
The only exception to this rule is when defending a putaway shot. In this instance, your paddle should drop lower toward your knees or ankles because your opponent will likely be slamming the ball toward your feet. By dropping it low, you are more ready to receive this type of shot.
With your paddle in front of your chest, focus on your dominant hand: Your wrist should be locked and your grip should be loose. Imagine your partner comes to steal your paddle — it should simply glide out of your hand. If you are squeezing too tightly or have your wrist too loose, you will not be able to execute your next shot properly.
Finally, your paddle should be pointed slightly to your backhand side. Imagine you are standing on a clock face. If noon is straight ahead, your paddle should be pointed at the 11 if you are right-handed, or the 1 if you are left-handed.
If you favor a two-handed backhand, you can add a second hand onto the paddle. Your second elbow should again be bent slightly and your hand should rest loosely on the handle.
Now that you have found the proper ready position, take a moment to memorize how your body feels. You should return to this position after every single shot.
How to practice the ready position
As with any skill, the best way to improve your ready position is to commit it to muscle memory. The easiest way to do this is by performing the slinky drill.
Set up across the net from your drilling partner at the kitchen line. Start dinking the ball to each other, returning to the ready position after each shot.
After you hit about five shots to each other, take two steps backward to the baseline and continue hitting balls from this position. Your partner should stay at the kitchen line and continue to feed balls.
Continue this pattern until you reach the baseline. Then work your way back to the kitchen line. Once there, your partner can begin moving backward.
Keep trading turns until you feel comfortable with your ready position. You are now ready to try adding the position to a game scenario.
Download the Selkirk TV app HERE to watch the complete episode and many other Selkirk TV original shows, podcasts, lesson series from the pros, and much more.


